Saturday, October 29, 2011

Quick & Easy Mummy Cupcakes


     These cupcakes are super easy and quick to make.  Perfect for a last minute homemade Halloween treat!!  All you need is cupcakes, white icing, and some candy corn (or any small candy for the eyes.)

     The cupcakes in the picture are chocolate and cherry chip.  For the mummy wrap, just pipe on plain white icing in strips, leaving a slit for the eyes.  I used candy corn for the eyes by cutting off the fattest stripe and inserting the pointy part into the cupcake.  The leftover candy corn makes a perfect tray garnish. 

     Hope you all get to have a fun Halloween!!    

Tuesday, October 25, 2011

Halloween Table

   This is one of my absolute favorite holidays!!  Most likely it's because I LOVE any excuse to put on a costume and be a character for a little while.  The "getting scared" is a thrill, too, but only when you know it's not real. 


     The idea for this table began with the centerpiece.  I first imagined having a table that looked like a ghost was rising out of the center of the tablecloth.  I used cheesecloth and liquid starch, and made a form for the ghost with lots of large flower pots stacked on top of each other.  In my imagination, the ghost would be about 4 feet tall and the guests would be able to see across the table through it.  A time limit to finish the project along with the reality of my first try set in, and the ghost turned out to be too heavy to be that tall and not collapse.  Instead, I bunched the bottom up inside of it, and that kept it upright through the entire luncheon.  You could still see through it though, so that worked out great!!

 
     My very favorite part of the entire table turned out to be the placecard holders.  The idea came from a lollipop holder that looked like a monster finger, and fit on top of your own finger.  Since I found those a few Halloweens ago, I had to make my own version for this table.  I found the severed fingers I used at a Dollar Tree store.  They were already "bloody," but I painted the nails black.  I used a small craft knife to make a slit behind the nail so that they would hold the placecards.  (Yes, this was very disturbing to do.  Even though they were plastic fingers, they felt a little too real to cut. Eeewww!!)  The next task was to figure out how to make them stand up.  Rummaging through my old Halloween decorations, I found these adorable skeleton hands, and the fingers slid perfectly between the bones to stand upright.  Isn't it great when you can re-use something you bought in the past for a new idea!!

     I used window cling spooky eyes to decorate the black chargers.  (These stay on for the meal, but are removed easily so the chargers can be used for another event.)  They peeked out from behind the dinner plates.  Also, I found some creepy crawlies at the Dollar Tree (bugs, centipedes, etc...) to place under the plates for a surprise when the plate was picked up to visit the buffet.  The napkins are Halloween bandannas.  I have this great book of napkin folds just for occasions like this.  Of course, the day of this luncheon I couldn't find that book anywhere!!  YouTube to the rescue.  I was able to find a quick, easy fold along with a video instruction.  Now that the event is over, I'm sure the book will turn up. Lol !!


     Pinterest was my inspiration for some of the table decor.  I LOVE that site!!  The rest I found in my handy Halloween stash from years past.  I picked out everything I had that fit in with the whites, blacks, and reds that emerged as a theme.  I did purchase some flameless tealights for the candle holders because the ghost in the middle of the table was a bit too flammable for real candles.

     You can't have a Halloween table without a bag of treats.  This is also a great chance for some marketing. I included a business card along with the candy.  Hopefully one (or more) of the guests needs a little help planning an event.

          A bag of plastic spiders worked for table confetti, and finished off the empty spots to make the look complete.

Sunday, July 10, 2011

A SpongeBob Squarepants Luau

This particular luau had lots of handmade items to make it one-of-a-kind.  Below is an example of each place setting.


I glued coloring pages onto colored construction paper, and then onto brown shipping paper (which you can find in rolls at Dollar General) to make the placemats.  The kids were able to color while waiting for their food, and they could take their artwork home after the party.


These cups started out plain yellow, and I just used a black permanent marker to draw SpongeBob's face.  Since the cups were short, I also cut the straws to fit without falling out.  These are sturdy plastic and washable, so the guests were able to take them home.


These "chum buckets" are made from clear plastic cups with pipe cleaners glued onto the sides to resemble a handle.  Gummi fish and worms, plus oyster crackers and Goldfish crackers make a pre-lunch snack for all of the guests.  I got the little "shovels" from a local ice cream shoppe.  They are the little spoons used to give out ice cream samples.


Raffia with a seashell hot-glued on holds the silverware bundles into place.


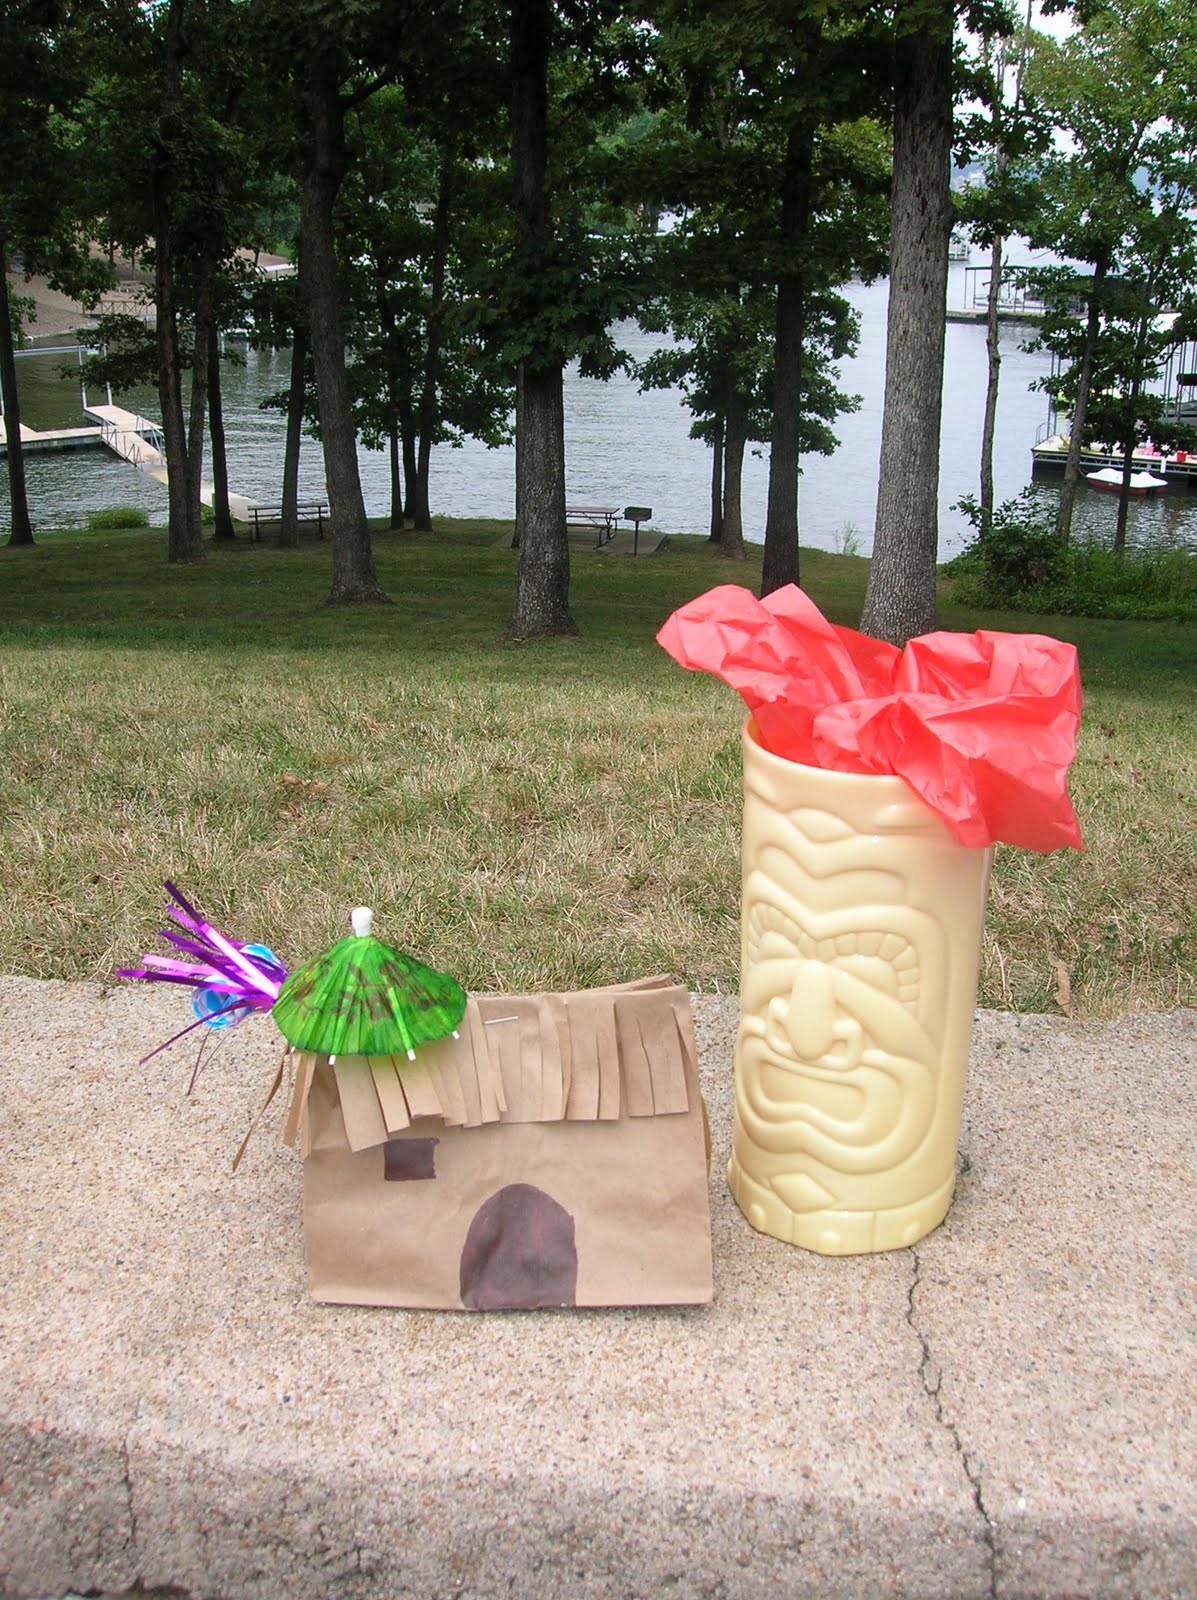
The treat bags were a huge hit.  Everything inside came from either the dollar store or Oriental Trading Company.  The bag itself started out as a plain brown lunch sack.  A few snips with scissors, a marker, and a sticker, and there you go!!


It's simple to personalize the favors.  A return address label fits perfectly around these tiny bubble bottles.


A tropical playlist specially selected for the birthday boy and girl was a special keepsake of their party.  I used a permanent marker and some stickers to decorated the cd.


Tip Junkie handmade projects

Friday, July 8, 2011

Sometimes simple is all you need.

This month I am running specials on Reunions.  This is one that I had with some wonderful people I had the pleasure of working with:

Recently some old work colleagues and I decided to gather and talk about the "good ol' days" together at Tres Hombres Mexican restaurant.  Plans started on Facebook with one coworker posting an event.  A few different ideas were discussed among those interested, like a float trip, a party bus, and dinner at our old restaurant.  (Now Italian instead of Mexican, but the same building.)

I started researching decoration and favor ideas.  Also looked into pricing a party bus to drive us to a nearby Tres Hombres that is still in business.  A date was picked and agreed upon.  The only problem was that no one would really commit to a definite yes or no.  While I love making party preparations, they take plenty of time, which is very scarce in the life of a single mother starting a new business.  Up until the week of the reunion, there was a chance that it wasn't going to come together at all, so I only made the most basic arrangements, just in case. 

 We were to meet in the bar area of the old restaurant where we all worked.  This way we didn't need a reservation, and it could accommodate both a small or large group.  After the group assembled, we could all make the decision to have cocktails and move on, or stay there for dinner.  It turned out to be just enough preparation for a very enjoyable evening!!  An event as "up in the air" as this really just needs a when and a where.


Of course, I couldn't leave it without just a bit of flair.  I brought a sombrero along to add just a little of the old Mexican restaurant feel.  It made a simple, yet perfect centerpiece, and this was exactly what we needed to get the picture-taking started!  We remembered old stories and looked around a bit to see what was still the same.  A nearby Mexican restaurant is where we stopped for dinner.


Margaritas, cervezas, and chips and salsa.  Just like old times!!


The moral of this story is that some celebrations only need a time and a place, and the people are what make it special.  The super-involved planning and money can go into the set events that you know will have a definite crowd.  Who knows?  We did have a great night, so maybe next time we can go for a themed reunion with all the bells and whistles.  You know I'm always up for one of those!!


Thursday, June 30, 2011

Flowers for the Fourth of July

The last party I coordinated gave me a fairly generous flower budget for a birthday party, and it sparked my interest in the many different varieties of flowers available.  I plan on heading out this week and making a festive 4th bouquet for myself, so I turned to the trusty internet for some ideas.  

Red flowers seem pretty easy to come by.  The most popular and easiest to find is the red rose.  Florists always seem to keep these on hand.  I can almost always find Gerber Daisies at my florist, too.  The others probably have to be in season.

Starting top left and going clockwise:
Rose, Tulip, Gerber Daisy, Orchid, & Carnation


Blue flowers, on the other hand, seem very hard to find.  Your are most likely to find some that have been died, because true blue flowers are rare.  Most that are considered blue are more violet or purple.
Hydrangea, Delphinium, & Veronica

Now white flowers should be just as easy to find as the red ones.  Baby's breath (which I forgot to include in my collage, but I'm sure you've all seen it) is a great white filler to use, too.
Carnation, Hydrangea, Gerber Daisy, Daffodil,
Hibiscus, Jasmine, Orchid, & Calla Lily


A perfect way to top off a patriotic bouquet would be to insert mini American flags, and maybe some metallic streamers shooting out like fireworks!!  I will try to get a picture of whatever I end up creating, and I would love to see some of your red, white, and blue bouquets, too.  

Do any of you have a good flower suggestion for this holiday?