Showing posts with label themed party. Show all posts

Wednesday, April 30, 2014

Wedding Wednesday: Part 3- April (Bridal) Showers

Basics and games have already been covered, so let's wrap this up with a little invitation and theme talk. 

Invitations:
You should start inviting guests at least a month in advance.  This should give everyone plenty of time to clear up their schedules and be able to attend.  For one shower that I hosted, I ran into the problem that we didn't have a location set in stone  but it was time to send the invites out.  I listed the date, time, and town that it was to be held in on the invite and promised the last minute details to those that RSVP'd.  (see pic below)  

The manner in which you decide to invite people depends on the best way to communicate with your particular group of friends.  A simple Facebook event might be the way to reach everyone that you are inviting.  This doesn't personally work the best for me because I have found that most of my friends don't notice their event invites.  Sometimes I still post the event so that guests can openly discuss the party and ask questions, but I always request that they RSVP to me personally.

Evite.com is a great way to contact everyone both by email and actual (snail) mail.  I played around with some designs before writing this, and it was so very quick and simple to use.  You pick a theme and fill in the details, then you can email them to your computer savvy friends or have Evite send out actual paper invitations with a link to the RSVP site. (I would suggest telling guests that they can also RSVP by calling or texting your phone number in the "message from host" section.)  Evite will notify you when people respond and help you to keep track of it all.  It can even give directions to your event and list the bride and groom's gift registries.  I am sure lots of other sites also do this today, but this is the one I remember to go to first.


EventsDEE-signed Bridal Shower Invitation weddings party planning event planning

You can always run out and buy invitations, too, but my very favorite thing to do is to make my own.  I can never quite find exactly what I am looking for, and if I have the time, I LOVE doing anything crafty!!  This option makes it very easy to coordinate the design of everything at the shower, including printed out games and decorations.  The invitation above was made in multiple color combinations to match the bright, rainbow colors used in the shower decor.  I found the 3-D heart stickers on clearance at a hobby store and their bubbly appearance made me think of raindrops.   

Themes:
Plenty of different things can point you in the direction of a "theme" for your shower.  I use the quotation marks because the idea of a theme doesn't have to be big.  It can be as simple as the colors you decide to use for decorating or as elaborate as the bride's favorite movie, book, city, etc...  She loves Alice in Wonderland?  A tea party!!  The couple is honeymooning in Mexico?  Margarita's & a taco bar!!  

Sometimes your theme can emerge from the type of gifts that you are requesting for the bride.  A "Round-the-clock Shower" is where each guest is given an hour of the day to purchase a gift for.  Noon could be cooking equipment (lunch), an early hour could be something coffee-related, midnight- some type of bedding.  Are  your bride and groom foodies?  Have a "Recipe Shower" and ask all of the guests to bring the instructions for their favorite dish to prepare along with something to help make it.  (Cookware, ingredients, novelty apron...)    

Hate the thought of having to choose a theme?  My suggestion is to find an interesting idea, a cool decoration, or even the look of an invitation that you like and build around it.  A "theme" will emerge on it's own before you know it.  These colorful flowers inspired all of the other decorations for this shower.  
EventsDEE-signed Bridal Shower wedding planning, event planning, party planning, multi-colored


Co-ed Showers:
Unless the groom (or bride) is totally and completely against it, how about throwing a shower for the both of them?  They are both getting married, and more than likely they both registered for the gifts.  Throw away that old idea of a girly afternoon and use this for another excuse to have a party with all of your friends!!  In my experience, just about every game can be twisted so that the guys can enjoy it too.  Also, a bar close by always seems to intrigue the guys just enough for them to give it a chance.  Another option is to have the bulk of the shower for a while and let the fellas join you for the last hour.   

I hope that this "April Showers" series gave you at least a little inspiration.  Next month I will try to cover "May Flowers" in one of the blogs.  Please comment below or reach out to me on Facebook or Twitter with ideas about what you would like for me to blog about next.         


Monday, March 26, 2012

April Fool's Fun

April Fool's Day- the perfect excuse to be silly and have a little fun.  A good laugh lifts your spirits and brightens your day.  Hopefully even if the joke was on you!!
Here is a bit of inspiration for some "foolish" fun...
This party table is full of gags just waiting to be discovered.  The best part is that most of this stuff can be found at the Dollar Store, so lots of festive for very little cash!!  You, of course, HAVE to start with Whoopee Cushions in the seats.  Probably not well hidden enough for your guests to fall for it, but a great favor for them to take home and try on their own unsuspecting friends. 

The cup full of mini-M&Ms on each plate not only matched the polka dots on the centerpiece, but also contained it's own surprise. To eat dinner, the cup needed to be moved out of the way, but guests had no idea that each cup was missing it's bottom!!  Once picked up, the candy spilled out onto the plate.  

For added fun, the little cup had a water squirting ring on top, and a fake lottery ticket attached.  I wrapped the tix in colored paper and wrote "Good Luck" on each, but this would also be a great place to write names and double them as place cards.  It is attached to the cup simply with a colored paper clip.  

Under each place setting was a colorful maze placemat.  I copied mazes from the internet, but for this particular theme, I took a thin black permanent marker and made an extra line towards the end, blocking the path to the exit.  If you are careful, it isn't obvious at all, and then there is NO WAY OUT!!  This should keep your guests busy for a little while.  It said "Answer on back" in the corner, but when it's turned over, it just says "There is no escape...  HA-HA-HA!!  April Fool!!"

A classic gag is switching out the salt and sugar, so how could I resist?  I filled one shaker with each, then added the question mark to make them wonder.  

A couple of other things that I added were odd-flavored Jellie Bellies, and fake spilled wine, which I made pretty easily with nail polish and a plastic cup.  As an added bit of decor, I found a great quote, printed it out, and framed it for the table.  


Tuesday, March 13, 2012

Great ideas for crafty moms, scout leaders, room mothers...

I loved doing crafts with my children when they were younger.  Sadly, they outgrew it.  Not me!!  If I could get them to sit down and join me, well, that would be a glorious thing.  Maybe that can be one of my wishes if I meet a leprechaun this St. Pat's, !!  Oh well, someday my grandkids will craft with me again. 

While researching some St. Patrick's Day craft ideas, I stumbled onto www.makingfriends.com  
This site came in very handy when I used to be my daughters' Girl Scout leader.  Free printables, including crafts, mazes, color pages..., plus all of the instructions you need to complete the projects.  


This adorable shamrock garland would be an easy decoration to make, and at very little cost.  Thank you Someday Crafts for blogging about it.  You can find the tutorial at Bless This Mess.
  

I would absolutely love to see your creations- crafty, edible, or otherwise!!  Head over to my Events DEE-signed facebook page and upload your pictures.  

Wednesday, March 7, 2012

Taste the Rainbow...

Rainbows are often seen in a lot of St. Patrick's Day pictures.  The end of the rainbow IS where a leprechaun hides the pot of gold!!
   
These treats are adorable, fun, and I am betting absolutely delicious!!  
The link gives instructions for making these as shots using vodka, but they would work just as well as jigglers so that  the kids can enjoy them, too.  My favorite part about this treat is the cherry stem sticking out of the top.  Pretty & functional!!

And now, cupcakes!!  I made these last year for St. Pat's, but too late to use them in a blog.    
The cupcakes above were made by me, but you can get the instructions from the Family Fun website.  The shamrocks are green gumdrops.  To shape these, first flatten the gumdrop.  Sprinkle sugar on them if they get too sticky to work with.  Once flattened, you can cut them into the shapes you need. 


Recently, I saw a picture of what must have been pudding.  (There was no caption with the picture, so hard to tell for sure.)  They had made different shades of pudding (my best guess, add food coloring to vanilla) and layered them in clear plastic cups for the rainbow effect.  I would top this with a golden coin!! 


Another snack idea I love are these fruit kabobs.  Pretty, tasty, and healthy.
                                Rainbow fruit kabobs.


All of you Pinterest addicts may recognize the Skittles Vodka below.  I looked at a few different blogs about this project, and this one was the most detailed and easy to follow. 

For the kiddos, I would stick with different flavors of kool-aid. 
                              

Saturday, November 12, 2011

Keep the kids busy at Thanksgiving...

     At most Thanksgiving gatherings, there is plenty for the adults to do.  Cooking, setting the table, watching football, or just catching up with each other.  The kids can probably find plenty to do, too, but if you have a few things prepared to keep them busy, maybe they can stay out of trouble!!

     Coloring placemats are one of my favorite things to use anytime I am making a place setting for children.  They are easy to make, and add an activity to any celebration.  For this holiday, I printed a placemat with 2 sides.  Thanksgiving on the front, and pre-Christmas on the back.  The front has pictures to color, but you could also find word games or puzzles for free online to print out.  The most important part is the box for each person to write what they are thankful for this year.  The back is a Christmas Wish List.  Those Black Friday circulars are full of gift ideas and toy catalogs.  There are spaces for both gifts "To Get" & "To Give."

(made by Events DEE-signed)


     I LOVE this tablecover idea from the  Sweet Paul Blog.  You can get this type of wrapping paper at your local dollar store.   
(from Sweet Paul blog)
     Simply draw the placemats directly on the paper, put out some crayons, and let the kids decorate the entire table cover.  After dinner, you can either cut out each child's artwork for a keepsake or, if the table is a mess, just fold everything up in the paper and throw it all away in one quick sweep.  Then the table is ready for board games, or maybe some after-dinner crafting.

     Always have a couple of board games for indoors, and a couple of outdoor game ideas along with balls, frisbees, etc... in case you are lucky enough to have nice weather.  We still have Thanksgiving in my grandparents 2-bedroom house, even though the family has grown to 20+, so if we can send the kids outside, that's just one more enormous thing to be thankful for!!  The kids' table can be board game central, or they can set up in a spare room on the floor.

     Some kids will want to help in the set-up.  There are plenty of simple napkin folds that a child could master.  You can always find tutorials on YouTube.  This one from Danielle's Place is adorable.
(from Danielle's Place)


     Maybe they could help with a very simple appetizer that requires no cooking. This does the double-duty of keeping the kids busy and the adults from sneaking any turkey while everyone waits!!   Most children can arrange pre-cut vegetables or cheese squares onto a plate.  Another cute idea I found on Pinterest (I LOVE that site!!) is to put fruit pieces on skewers and make this Fruit Gobbler from Family Fun Magazine.  They used a cantaloupe, but I think a small pumpkin would be great.
(from Family Fun Magazine)

            I hope some of these ideas will work for you, or at least get your own imagination flowing!!


Tuesday, October 25, 2011

Halloween Table

   This is one of my absolute favorite holidays!!  Most likely it's because I LOVE any excuse to put on a costume and be a character for a little while.  The "getting scared" is a thrill, too, but only when you know it's not real. 


     The idea for this table began with the centerpiece.  I first imagined having a table that looked like a ghost was rising out of the center of the tablecloth.  I used cheesecloth and liquid starch, and made a form for the ghost with lots of large flower pots stacked on top of each other.  In my imagination, the ghost would be about 4 feet tall and the guests would be able to see across the table through it.  A time limit to finish the project along with the reality of my first try set in, and the ghost turned out to be too heavy to be that tall and not collapse.  Instead, I bunched the bottom up inside of it, and that kept it upright through the entire luncheon.  You could still see through it though, so that worked out great!!

 
     My very favorite part of the entire table turned out to be the placecard holders.  The idea came from a lollipop holder that looked like a monster finger, and fit on top of your own finger.  Since I found those a few Halloweens ago, I had to make my own version for this table.  I found the severed fingers I used at a Dollar Tree store.  They were already "bloody," but I painted the nails black.  I used a small craft knife to make a slit behind the nail so that they would hold the placecards.  (Yes, this was very disturbing to do.  Even though they were plastic fingers, they felt a little too real to cut. Eeewww!!)  The next task was to figure out how to make them stand up.  Rummaging through my old Halloween decorations, I found these adorable skeleton hands, and the fingers slid perfectly between the bones to stand upright.  Isn't it great when you can re-use something you bought in the past for a new idea!!

     I used window cling spooky eyes to decorate the black chargers.  (These stay on for the meal, but are removed easily so the chargers can be used for another event.)  They peeked out from behind the dinner plates.  Also, I found some creepy crawlies at the Dollar Tree (bugs, centipedes, etc...) to place under the plates for a surprise when the plate was picked up to visit the buffet.  The napkins are Halloween bandannas.  I have this great book of napkin folds just for occasions like this.  Of course, the day of this luncheon I couldn't find that book anywhere!!  YouTube to the rescue.  I was able to find a quick, easy fold along with a video instruction.  Now that the event is over, I'm sure the book will turn up. Lol !!


     Pinterest was my inspiration for some of the table decor.  I LOVE that site!!  The rest I found in my handy Halloween stash from years past.  I picked out everything I had that fit in with the whites, blacks, and reds that emerged as a theme.  I did purchase some flameless tealights for the candle holders because the ghost in the middle of the table was a bit too flammable for real candles.

     You can't have a Halloween table without a bag of treats.  This is also a great chance for some marketing. I included a business card along with the candy.  Hopefully one (or more) of the guests needs a little help planning an event.

          A bag of plastic spiders worked for table confetti, and finished off the empty spots to make the look complete.

Sunday, July 10, 2011

A SpongeBob Squarepants Luau

This particular luau had lots of handmade items to make it one-of-a-kind.  Below is an example of each place setting.


I glued coloring pages onto colored construction paper, and then onto brown shipping paper (which you can find in rolls at Dollar General) to make the placemats.  The kids were able to color while waiting for their food, and they could take their artwork home after the party.


These cups started out plain yellow, and I just used a black permanent marker to draw SpongeBob's face.  Since the cups were short, I also cut the straws to fit without falling out.  These are sturdy plastic and washable, so the guests were able to take them home.


These "chum buckets" are made from clear plastic cups with pipe cleaners glued onto the sides to resemble a handle.  Gummi fish and worms, plus oyster crackers and Goldfish crackers make a pre-lunch snack for all of the guests.  I got the little "shovels" from a local ice cream shoppe.  They are the little spoons used to give out ice cream samples.


Raffia with a seashell hot-glued on holds the silverware bundles into place.


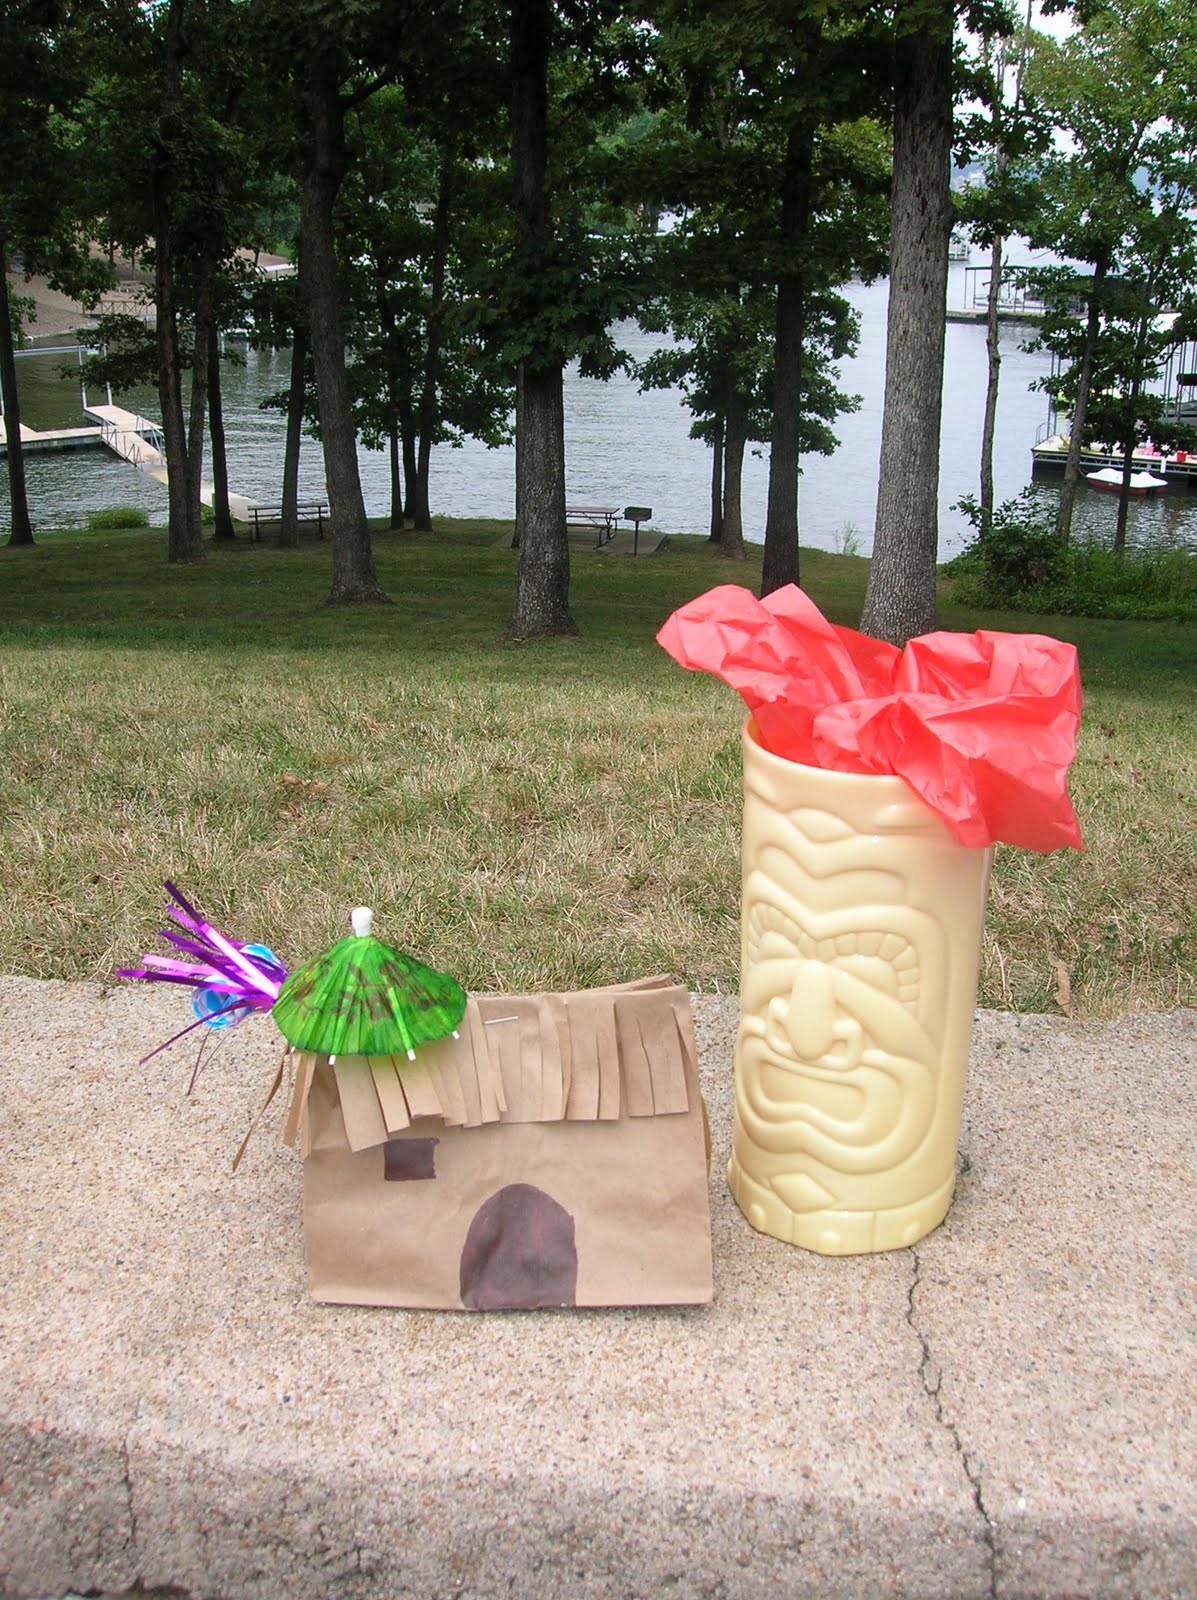
The treat bags were a huge hit.  Everything inside came from either the dollar store or Oriental Trading Company.  The bag itself started out as a plain brown lunch sack.  A few snips with scissors, a marker, and a sticker, and there you go!!


It's simple to personalize the favors.  A return address label fits perfectly around these tiny bubble bottles.


A tropical playlist specially selected for the birthday boy and girl was a special keepsake of their party.  I used a permanent marker and some stickers to decorated the cd.


Tip Junkie handmade projects

Friday, July 8, 2011

Sometimes simple is all you need.

This month I am running specials on Reunions.  This is one that I had with some wonderful people I had the pleasure of working with:

Recently some old work colleagues and I decided to gather and talk about the "good ol' days" together at Tres Hombres Mexican restaurant.  Plans started on Facebook with one coworker posting an event.  A few different ideas were discussed among those interested, like a float trip, a party bus, and dinner at our old restaurant.  (Now Italian instead of Mexican, but the same building.)

I started researching decoration and favor ideas.  Also looked into pricing a party bus to drive us to a nearby Tres Hombres that is still in business.  A date was picked and agreed upon.  The only problem was that no one would really commit to a definite yes or no.  While I love making party preparations, they take plenty of time, which is very scarce in the life of a single mother starting a new business.  Up until the week of the reunion, there was a chance that it wasn't going to come together at all, so I only made the most basic arrangements, just in case. 

 We were to meet in the bar area of the old restaurant where we all worked.  This way we didn't need a reservation, and it could accommodate both a small or large group.  After the group assembled, we could all make the decision to have cocktails and move on, or stay there for dinner.  It turned out to be just enough preparation for a very enjoyable evening!!  An event as "up in the air" as this really just needs a when and a where.


Of course, I couldn't leave it without just a bit of flair.  I brought a sombrero along to add just a little of the old Mexican restaurant feel.  It made a simple, yet perfect centerpiece, and this was exactly what we needed to get the picture-taking started!  We remembered old stories and looked around a bit to see what was still the same.  A nearby Mexican restaurant is where we stopped for dinner.


Margaritas, cervezas, and chips and salsa.  Just like old times!!


The moral of this story is that some celebrations only need a time and a place, and the people are what make it special.  The super-involved planning and money can go into the set events that you know will have a definite crowd.  Who knows?  We did have a great night, so maybe next time we can go for a themed reunion with all the bells and whistles.  You know I'm always up for one of those!!


Tuesday, June 21, 2011

Dollar Junction Inspiration - 4th of July

I LOVE walking through Dollar Junction for inexpensive things to spark my creativity!!  If I spend a couple of dollars and an idea doesn't work, I'm not out too much money.  If the idea does work, I either have a very inexpensive new idea, or a base for a project that works, and I can confidently spend a little more to make it just right.

This time through, the red, white, & blue was catching my eye.

Okay, I admit it, I am usually drawn to the candy aisle.  The wrappers have done most of the decorating for me already!!  Just plopping these in a bowl on a table looks plenty festive, but I did think of a couple of different possibilities.


Tying the curling ribbons around the Tootsie Pops, I was trying to make the streamers look like bursting fireworks.  It seemed to look better when I didn't curl them, but cut them plenty long.  I used red hots in the bowl to hold the sticks up.  You could even hold the stick between your palms and twist back and forth to make the ribbons "fly."


This red pot with the star border fits right in with a "star-spangled" theme.  It was too deep for the sucker sticks, so I placed a shorter bowl on top of old ribbon spools to make it sit higher. 

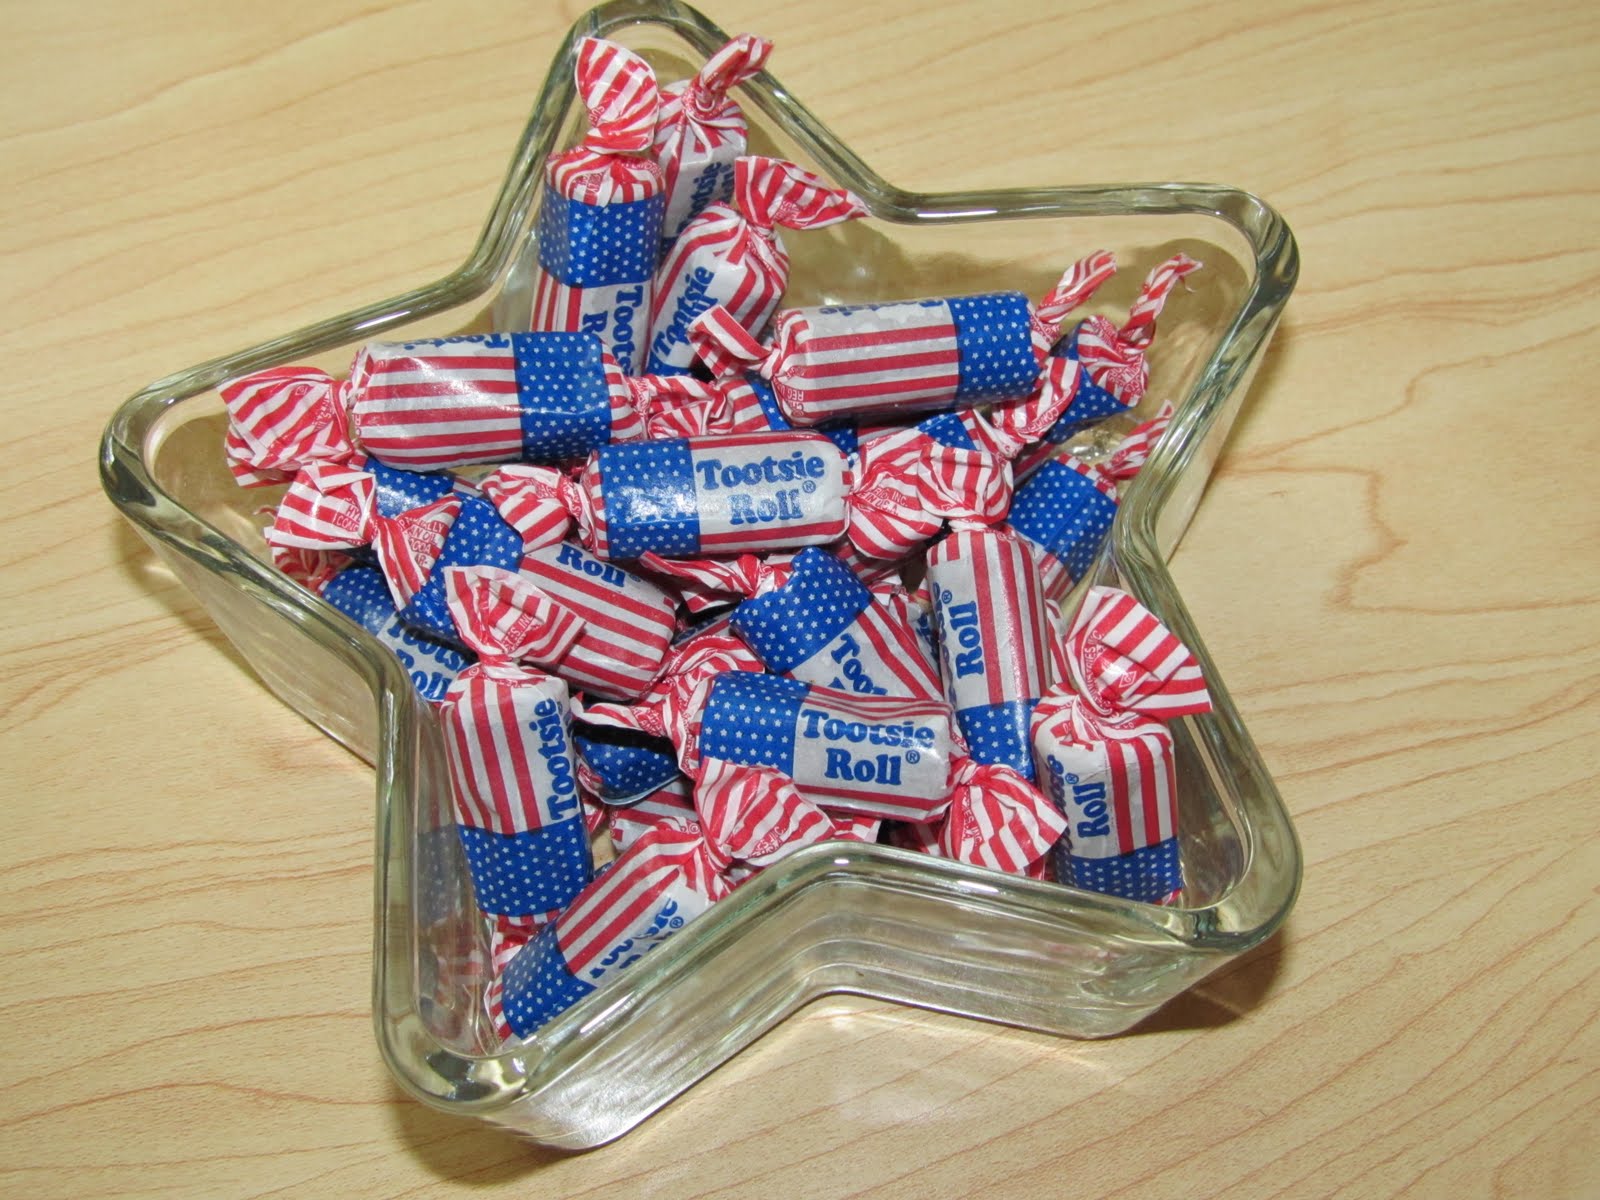
These tootsie rolls look great in this star dish (also found at Dollar Junction!!)  If you place them under the upside down dish, you can put a candle or other decoration on top.  Looks good, but the guests can't really get to the candy.  Hey, perfect for saving a few for yourself after the celebration!!


Above is just another option combining both kinds of candies.  Below, I was attempting to make a tootsie roll star, but it could also easily be decorated as a "4th of July guy."  You know, a couple of googly eyes in just the right spot.  
  •                    

Some of you may have noticed that I didn't use the fudge-filled candy stars in any of the photos.  Well, I re-learned an old lesson with those.  If you are shopping on a warm day, DO NOT leave any type of chocolate in your hot car.  I ended up with a red, white, & blue lump!!  Still tasty, but not very pretty.  The bright side is that it was only $1 lost, and I've got enough time to get back to the store before July.  The stars would be great sprinkled on cupcakes or used to decorate sugar cookies.

I really hope some of these ideas sparked a little of your own creativity.  What holiday things have you found lately to inspire you?

I'll plan, so you can party!!


Visit me at Events DEE-signed.com

and follow along on your favorite social medias:

Facebook      Twitter       Google+      LinkedIn

      
         Pinterest                     Instagram


Tip Junkie handmade projects

Tuesday, June 14, 2011

Animal Print Baby Shower

A fashionable baby girl deserves a very chic animal print shower!!  This particular baby shower was a co-ed celebration.  We picked a sports bar/restaurant with an upstairs party room so that the ladies could do the "girly" stuff, and the guys could play pool, video games, and poker, all while watching the ball game.  Everybody's happy!!


The gift table was covered with a zebra-print rug.  Glittery pink letters spelled out baby's name.  There was a huge mug for "Big Dad Cory" and a pretty tiara for Mommy Connie.


The guys' tables were set up with baby girl playing cards from Oriental Trading Company and pink cash and coins from Dollar Junction for poker playing.  Bubble gum or chocolate cigars make great favors for the fellas.


Upstairs the tables had floating safari duckies.  One table had a fountain in the center, which was a perfect place for these little guys to swim!!  The children at the party got to pick a "duckie" to take home with them.


I made these adorable baby bracelet wine glass charms for the ladies.  Here is a link to my tutorial blog:


The girls had their own games while the boys played downstairs.  Each received a book with a few baby games to fill out while we ate.  The pencils were personalized with baby Josie's full name and birth year. These cute animal print bags were filled with prizes for the game winners.  More "active" games were also played.  This super-cute corsage was one of the prizes.


After about an hour, we joined the boys downstairs to play onesie basketball, guys vs. gals.  
It got very loud and competitive, and sooooooo much fun!!  


Cake was served while Mom and Dad opened gifts.  Personalized candy bars and little bags of animal crackers were passed out as favors.